Easy Puffed Quinoa: Your New Protein-Packed Crunchy Snack
Prepare to transform your pantry staple into an irresistible, protein-packed snack that adds a delightful crunch to virtually any dish. While quinoa is already celebrated for its nutritional prowess, the humble grain takes on a new, exciting life when puffed. This simple
puffed quinoa recipe is a game-changer, offering a light, airy, and crispy texture that’s as versatile as it is delicious. Forget store-bought processed snacks; making your own crispy quinoa at home is surprisingly easy and incredibly rewarding, providing a satisfying "pop" that elevates everything from breakfast bowls to savory salads.
What is Puffed Quinoa and Why You Need It in Your Life
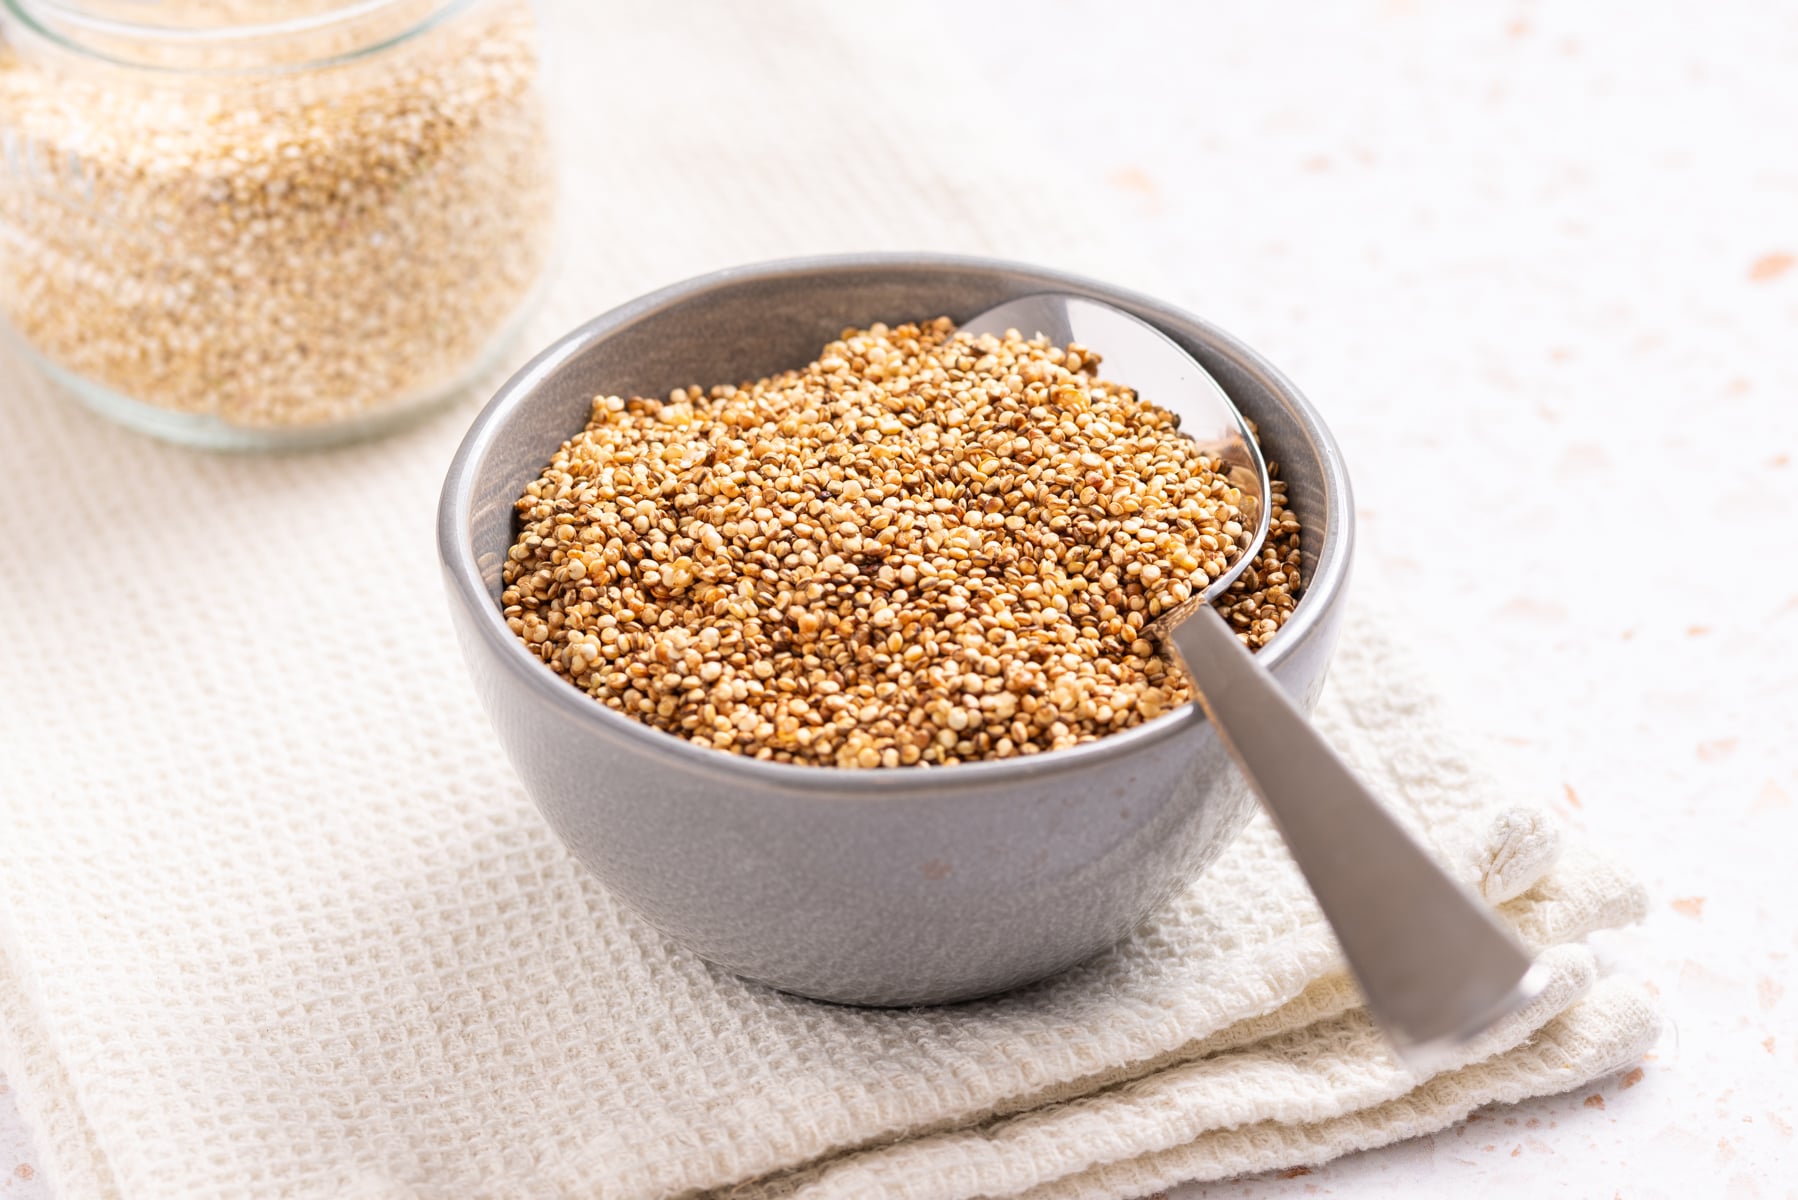
Puffed quinoa, sometimes referred to as popped quinoa, is exactly what it sounds like: individual quinoa grains that have expanded and become airy and crispy, much like tiny kernels of popcorn. This isn't just about a textural upgrade; it's about unlocking a new dimension of flavor and utility for this ancient grain. Originally cultivated in the Peruvian Andes over 5,000 years ago, quinoa (pronounced "keen-wah") is renowned as a complete protein, meaning it contains all nine essential amino acids. It's also gluten-free, high in dietary fiber (around twelve grams per cup), and rich in vital minerals like iron and magnesium.
But let's be honest, cooked quinoa can sometimes feel a bit… dense. Puffed quinoa, however, offers a completely different experience. Its flavor is wonderfully mild and nutty, with a subtle toasted quality that hints at popcorn. This unique profile makes it an ideal addition to a vast array of dishes, imparting a delicate crunch without overpowering other ingredients. Imagine adding a satisfying "quinoa crisp" to your morning yogurt, sprinkling it over a vibrant salad for an unexpected texture boost, or even incorporating it into homemade chocolate quinoa crunch bars. Unlike its cooked counterpart, puffed quinoa maintains its crispness longer, making it an excellent ingredient for meal prepping healthy snacks and versatile toppings. If you've been searching for a smart, delicious way to boost your protein and fiber intake while enjoying every bite, this easy puffed quinoa recipe is your answer.
Mastering the Easy Puffed Quinoa Recipe: Step-by-Step Guide
Creating perfectly puffed quinoa at home requires just a few simple ingredients and a dash of patience. The process involves three key stages: cooking, thorough drying, and then toasting in batches to achieve that signature light, crispy puff.
Preparation: The All-Important Rinse
Before you even think about cooking, rinsing your quinoa is absolutely non-negotiable. Quinoa grains are naturally coated with saponins, a bitter, soap-like substance that acts as a natural pest deterrent. Failing to rinse can leave your finished product with an unpleasant soapy or bitter aftertaste.
- Measure out ½ cup of raw quinoa.
- Place the quinoa in a fine-mesh sieve and rinse thoroughly under cold running water for at least 1-2 minutes, or until the water runs completely clear. You might even gently rub the grains with your fingers to ensure all saponins are washed away.
Cooking the Quinoa Foundation
This step transforms the raw, hard grains into tender, absorbent kernels ready for drying.
- Combine the rinsed ½ cup of quinoa with 1 cup of cold water in a small, heavy-bottomed pot.
- Bring the mixture to a rolling boil over medium-high heat.
- Once boiling, reduce the heat to low, cover the pot tightly, and simmer gently for about 15 minutes. Resist the urge to lift the lid!
- After 15 minutes, remove the pot from the heat and let it stand, still covered, for another 5 minutes. This allows any remaining steam to absorb and helps the grains become perfectly tender and translucent.
- Fluff the cooked quinoa gently with a fork.
Drying for Optimal Popping Power
This is arguably the most crucial step. Bone-dry quinoa is essential for successful puffing. Any residual moisture will cause the grains to steam rather than pop, resulting in a chewy or soggy outcome.
- Spread the cooked quinoa in a very thin, single layer on a baking sheet lined with parchment paper. Ensure there are no clumps, as these will retain moisture.
- Allow the quinoa to air dry overnight (8-12 hours) at room temperature. This is the most passive and often most effective method.
- For a faster method: Preheat your oven to its lowest setting, typically around 170°F (75°C). Place the baking sheet with quinoa in the oven for 30–45 minutes, stirring occasionally, until the grains are completely dry and slightly separated. They should feel hard and dry to the touch, not sticky or moist.
The Art of Popping Quinoa in a Skillet
This is where the magic happens! Proper technique here ensures an even, crispy puff.
- Heat a dry, heavy-bottomed skillet (cast iron or stainless steel works best) over medium-high heat. Do NOT add any oil – this is a dry toast.
- Once the skillet is hot (a drop of water should sizzle and evaporate immediately), add 2–3 tablespoons of the bone-dry quinoa in a single layer. Overcrowding the pan will lower the temperature and lead to uneven puffing or scorching.
- Shake the pan constantly and gently with a back-and-forth motion. Keep the quinoa moving to prevent burning.
- Within about 30 seconds to a minute, you’ll start to hear tiny popping sounds, and the grains will begin to puff up, turning a light golden brown and becoming visibly larger and crisper. They will resemble miniature popcorn or puffed rice.
- As soon as the majority of the quinoa has puffed and is golden, immediately transfer it from the hot pan to a plate or tray to cool. Continuing to cook will lead to burning.
- Repeat the process with the remaining dried quinoa, working in small batches until all of it is puffed.
Flavor Boosts and Cooling for Crispness
This final stage enhances the taste and ensures maximum crunch.
- While the puffed quinoa is still warm, you can sprinkle it with optional seasonings. For a sweet treat, try a pinch of coconut sugar or a light drizzle of maple syrup and a dash of cinnamon. For a savory kick, a pinch of sea salt, chili powder, smoked paprika, or even nutritional yeast can be fantastic.
- Let the puffed quinoa cool completely on a plate or tray. This crucial step allows it to fully crisp up and prevents any condensation from forming, which could lead to sogginess.
Creative Ways to Enjoy Your Homemade Puffed Quinoa
Once you’ve mastered this
puffed quinoa recipe, a world of culinary possibilities opens up! Its mild flavor and satisfying crunch make it an incredibly versatile ingredient.
- Breakfast Booster: Sprinkle generously over yogurt parfaits, oatmeal, smoothie bowls, or even cold cereal for an added protein and fiber boost that stays crispy. It makes a fantastic, gluten-free alternative to granola.
- Salad & Soup Topper: Elevate any salad, from a simple garden salad to a hearty grain bowl, with a scattering of puffed quinoa. It adds textural intrigue without the heaviness of croutons. It’s also excellent floated atop creamy soups or stews for an unexpected crunch.
- Healthy Snacking: Enjoy it plain as a guilt-free, crunchy snack. Or, customize it with your favorite sweet or savory seasonings for a personalized treat. Think honey-roasted puffed quinoa or a spicy chili-lime version.
- Dessert & Baking: Puffed quinoa shines in desserts! Mix it with melted chocolate and a nut butter for easy homemade "quinoa crunch" bars. Incorporate it into energy balls, sprinkle it over muffins or cakes before baking, or use it as a crunchy base for no-bake cheesecakes.
- Savory Applications: Get creative by using puffed quinoa as a light, gluten-free breading for chicken or fish. You can also mix it into savory patties or fritters for added texture.
For more in-depth techniques on achieving that perfect pop, check out our guide on
How to Make Perfect Puffed Quinoa: Crunchy & Healthy. To explore even more innovative uses beyond snacking, delve into
Puffed Quinoa: The Versatile Crunch for Snacks & Meals.
Storing Your Puffed Quinoa for Long-Lasting Crunch
To maintain that delightful crispness, proper storage is key. Puffed quinoa is highly susceptible to moisture, which can quickly turn it soggy.
- Container: Once completely cooled, transfer your puffed quinoa to an airtight container. A glass jar with a tight-fitting lid is ideal, as it provides an excellent seal and prevents moisture ingress.
- Location: Store the container in a cool, dry place, such as your pantry or a kitchen cupboard.
- Avoid the Fridge: Do not store puffed quinoa in the refrigerator. The fridge's humid environment is its enemy and will quickly ruin its crispy texture.
- Shelf Life: Properly stored, homemade puffed quinoa will remain fresh and delightfully crispy for up to two weeks. If it starts to lose a bit of its crunch, you can often revive it with a quick re-toast in a dry skillet for a minute or two over medium heat.
Conclusion
Making puffed quinoa at home is an incredibly simple yet impactful way to elevate your healthy snacking and meal preparation. This comprehensive
puffed quinoa recipe transforms a wholesome grain into a versatile, protein-packed, and irresistibly crunchy ingredient that adds nutritional value and exciting texture to countless dishes. From boosting your breakfast to creating unique desserts or simply enjoying it as a standalone snack, puffed quinoa is a testament to how easy and rewarding it can be to create delicious, healthy food from scratch. So, gather your ingredients, follow these steps, and get ready to experience the delightful crunch of your new favorite pantry staple!